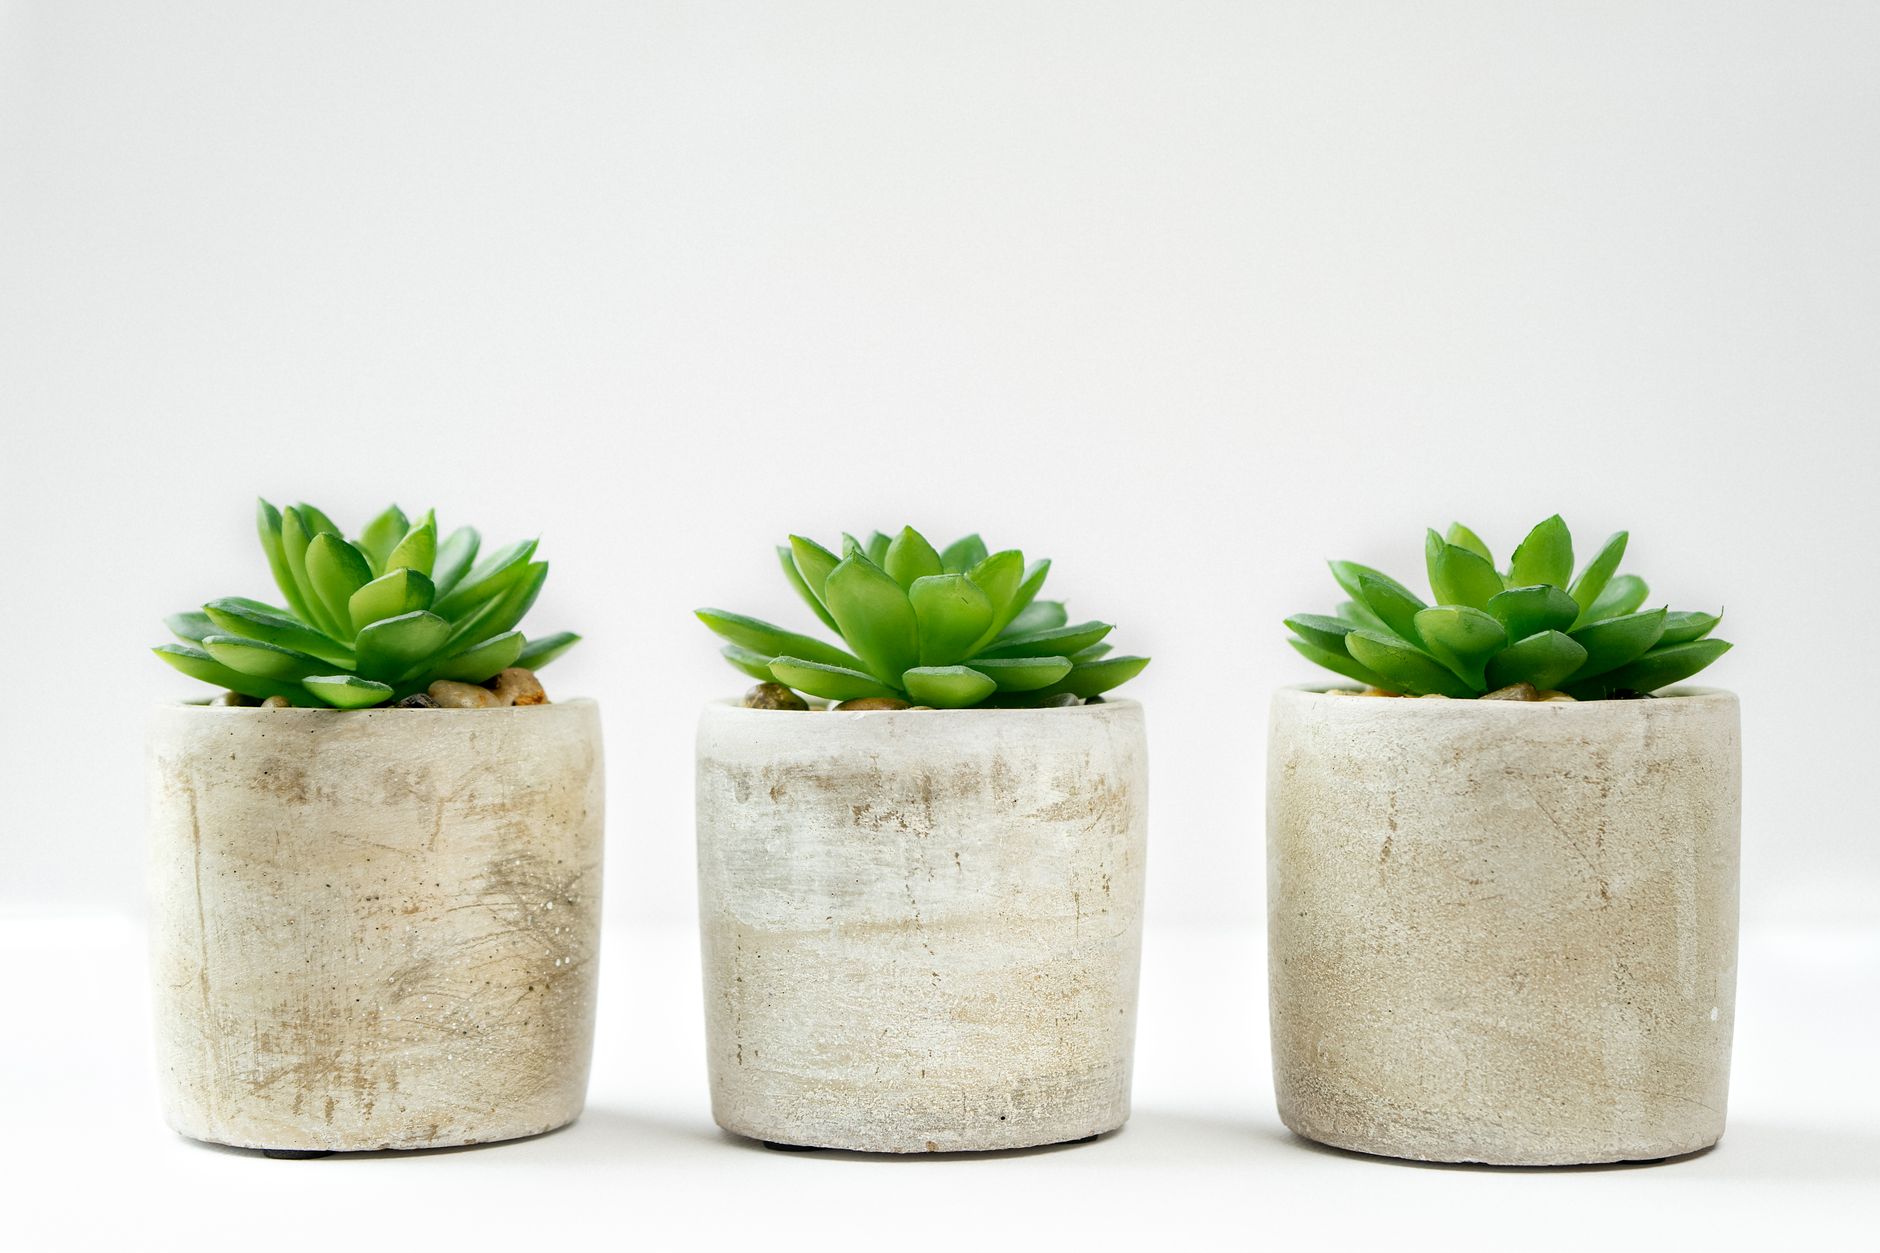
Concrete planters have become a staple in modern home decor, and for good reason. They offer a clean, minimalist look that pairs perfectly with the organic shapes of succulents. Best of all, you can make them yourself at home with just a few affordable materials.
This guide walks you through every step of creating your own concrete planters, from gathering supplies to curing the finished piece. Whether you are a seasoned crafter or a curious beginner, you will find this project surprisingly rewarding.
Why Concrete Is Perfect for Succulents
Succulents thrive in dry conditions, and concrete naturally wicks away excess moisture. This makes it an ideal material for plants that hate sitting in wet soil. The porous nature of concrete also adds a rustic, industrial charm that complements almost any interior style.
Another advantage is durability. Unlike ceramic or plastic pots, concrete planters can last for decades outdoors without cracking or fading. They are heavy enough to stay put in windy conditions, yet you can customize their size and shape to fit your space.
Finally, concrete is incredibly versatile. You can tint it, texture it, or embed decorative elements like stones and shells. The creative possibilities are nearly endless.
Materials and Tools You Will Need
Before you start mixing, gather everything in one place. This keeps the process smooth and prevents concrete from drying out while you search for tools.
- Concrete mix: Use a fast-setting or general-purpose mix, ideally one labeled for casting.
- Molds: Plastic containers, silicone molds, or cardboard boxes work well.
- Release agent: Cooking spray or petroleum jelly prevents sticking.
- Mixing bucket and stir stick: Dedicated tools you do not mind scratching.
- Water: Measured according to the concrete package instructions.
- Sandpaper: For smoothing rough edges after curing.
- Safety gear: Gloves, dust mask, and eye protection.
If you want a drainage hole, you will also need a small plastic tube or dowel to insert into the mold. This step is optional but highly recommended for succulent health.
Step-by-Step Instructions
Step 1: Prepare Your Mold
Choose a container that is slightly larger than the final planter size you want. Coat the inside thoroughly with your release agent, making sure to reach every corner. If you are using a two-part mold for a hollow planter, place the smaller inner container inside the larger one and secure it.
Step 2: Mix the Concrete
Put on your safety gear and pour the dry concrete mix into your bucket. Add water gradually while stirring, aiming for a consistency like thick peanut butter. If the mix is too runny, the planter will be weak; if it is too dry, it will be crumbly.
Let the mixture rest for a minute or two, then stir again. This allows the water to fully absorb and improves the final strength.
Step 3: Pour and Settle
Slowly pour the concrete into your mold, filling it about halfway. Tap the sides of the mold gently to release air bubbles, or use a stick to poke the mixture. Continue filling until the mold is full, then tap again.
For a drainage hole, insert a greased dowel or tube into the wet concrete at the bottom. Hold it in place with tape if needed.
Step 4: Cure and Demold
Cover the mold with plastic wrap and let it cure in a cool, shaded spot. Fast-setting concrete may be ready in 24 hours, while standard mixes need 48 to 72 hours. Do not rush this stage, as premature demolding can cause cracks.
Once cured, gently flex the mold or tap it with a rubber mallet to release the planter. If it sticks, wait another day and try again.
Step 5: Smooth and Seal
Use sandpaper to smooth any rough edges or uneven surfaces. Rinse off the dust and let the planter dry completely. For extra protection, apply a concrete sealer, which reduces staining and slows water absorption.
If you skipped the drainage hole, you can still use a diamond drill bit to add one later. Just work slowly and keep the bit cool with water.
Creative Ideas to Personalize Your Planters
Once you have mastered the basic technique, try experimenting with different finishes. Concrete is a forgiving material, so mistakes often become happy accidents.
- Color: Add concrete dye or powdered pigment to the mix for a custom hue.
- Texture: Press leaves, lace, or bubble wrap into the surface before curing.
- Inlays: Embed sea glass, pebbles, or mosaic tiles for a decorative touch.
- Shape: Use silicone molds shaped like geometric forms, bowls, or even animals.
- Finish: Brush on metallic wax or milk paint for an aged, vintage look.
These small touches turn a simple planter into a unique gift or a standout piece in your home. They also make wonderful handmade presents for plant-loving friends.
Planting and Caring for Your Succulents
Before planting, soak your concrete planter in water for a few hours and then let it dry. This prevents the concrete from leaching moisture away from the soil. Fill the planter with a well-draining cactus or succulent mix.
Choose a succulent that fits the size of your planter and gently place it in the soil. Water sparingly at first, then follow your normal succulent care routine. Place the planter in bright, indirect light and rotate it occasionally for even growth.
Remember that concrete planters are heavy when filled, so position them where they will stay long-term. If you keep them outdoors, bring them inside during freezing weather to prevent cracking.
Tips for Best Results
Working with concrete is part science and part art. These tips will help you avoid common pitfalls and achieve a professional-looking finish.
- Measure carefully: Too much water weakens the concrete and causes cracks.
- Work quickly: Concrete starts setting within 20 to 30 minutes.
- Cure slowly: Keep the planter damp and covered for the first 24 hours.
- Wear protection: Concrete dust is harmful to your lungs and skin.
- Clean up immediately: Rinse tools before the concrete hardens.
With a little practice, you will develop a feel for the right consistency and timing. Your first planter may be imperfect, but each one will improve.
Conclusion: Start Creating Today
Making concrete planters for succulents is a satisfying craft that combines creativity with practicality. You end up with a durable, stylish home for your plants and a sense of accomplishment that store-bought pots simply cannot match.
So gather your materials, roll up your sleeves, and give this project a try. Once you see how easy and enjoyable it is, you will want to make planters for every succulent in your collection. Happy crafting, and may your concrete creations thrive alongside your beautiful plants!

Craft artisan and DIY enthusiast specializing in handmade gifts, creative hobbies, polymer clay, and home decor projects. Passionate about sharing step-by-step craft tutorials, creative gift ideas, and practical guides to help fellow makers turn their artistic passions into beautiful everyday creations.